Hi all, folks!
After a little break regarding the periodicity of the posts of the blog, we’re back with new articles. If you’ve been following everything we’ve announced on social networks, you’ll have realized that we haven’t stopped for even a minute.
These last few weeks, we’ve introduced a new Sons of a Bit website and we’ve shot several teasers related to our new project to be released in 2018. If you don’t know anything about it, click here and find out how to win amazing prizes.
But today we’re talking about a very important process when making a video game, level design. In fact, we’re explaining all the steps that must be carried out to consider a level ready to be implemented in the game.
Let’s begin!
Choosing Difficulty
First of all, we must choose how hard a level should be, taking into account where and when it’s going to appear. Although the traditional difficulty curve indicates that, the more advanced the level is in the game, the harder it must be, this is not always the case. Our difficulty is adjusted so players can find little ups and downs and more or less difficult moments depending on the point of the game where the player is. For example, a mid-world boss, together with some special stages, represents a high peak of difficulty. This doesn’t necessarily mean that all the levels after those little “edges” in the difficulty curve are a turning point, but it’s something quite normal and desirable to show levels which are easier from time to time, so they ease the tensions produced by the game with fun and surprising moments.
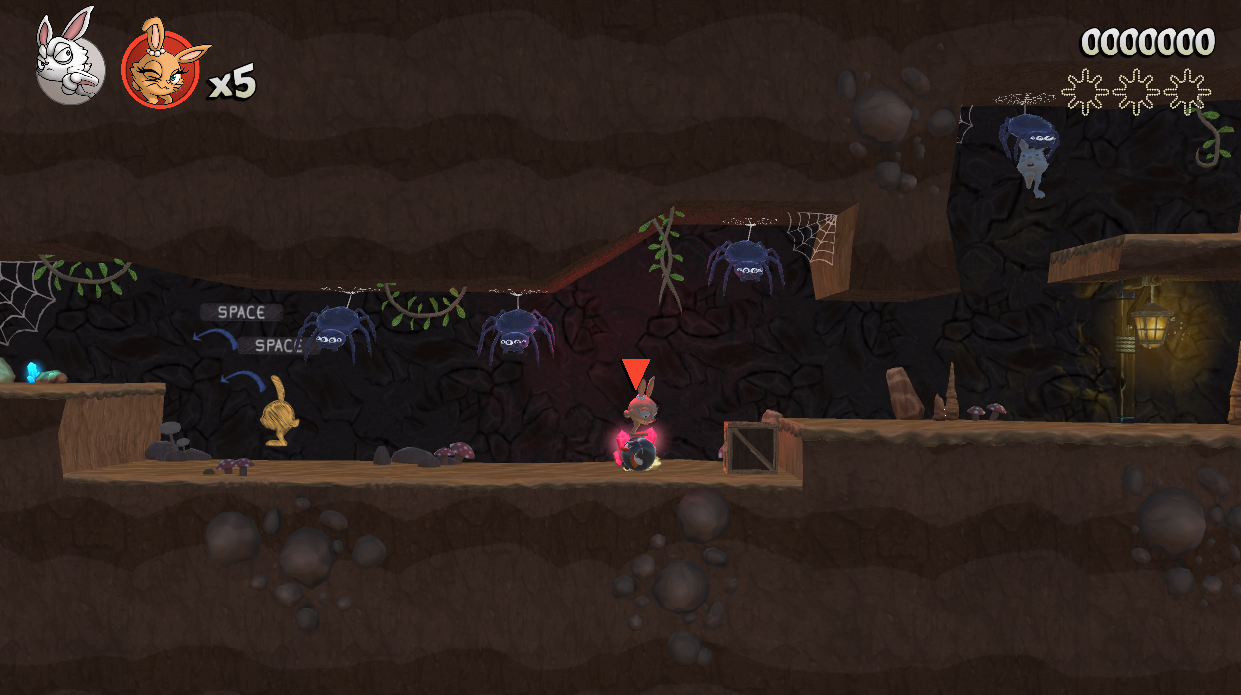
Time to Choose the Atmosphere
Islabomba is divided into different worlds: a forest, a desert, icy peaks… So depending on the atmosphere or theme of the level, we’ll choose the most representative elements in each area. Furthermore, each world is divided in turn into subareas with different atmospheres. For example, we wouldn’t use doves in underground levels, it wouldn’t make sense, but we would use spiders.
Harmony Among Levels
In Islabomba overworld map, players move from one square to another one. Those squares (normally) contain 3 levels or acts. For those 3 levels,we’ll search for a harmony so this set makes sense as a whole. For example, if we introduce a new enemy or game mechanic, the ideal thing is that it appears in most of those 3 acts. We can also decide that those levels are more focused on platform features, closer to puzzle games, etc. Once we’ve chosen the “protagonist” of the square, we’ll decided what are the other elements that will also appear there.
How Many Elements
Since we’ve chosen the elements, we’ll decide how many times each of them will appear. The difficulty of the level is something that must be keeping in mind all the time. Normally, the more difficult an act should be, more different elements appear, although this isn’t something that it’s always like that. For example, in those levels where a new enemy is introduced, players will only find one of its kind, so that they can analyze its movements and learn its mechanics. Once players know the enemy, we’re free to use it several times in other levels, since users already know how to deal with it.
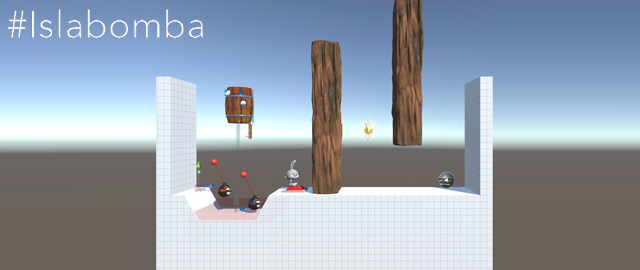
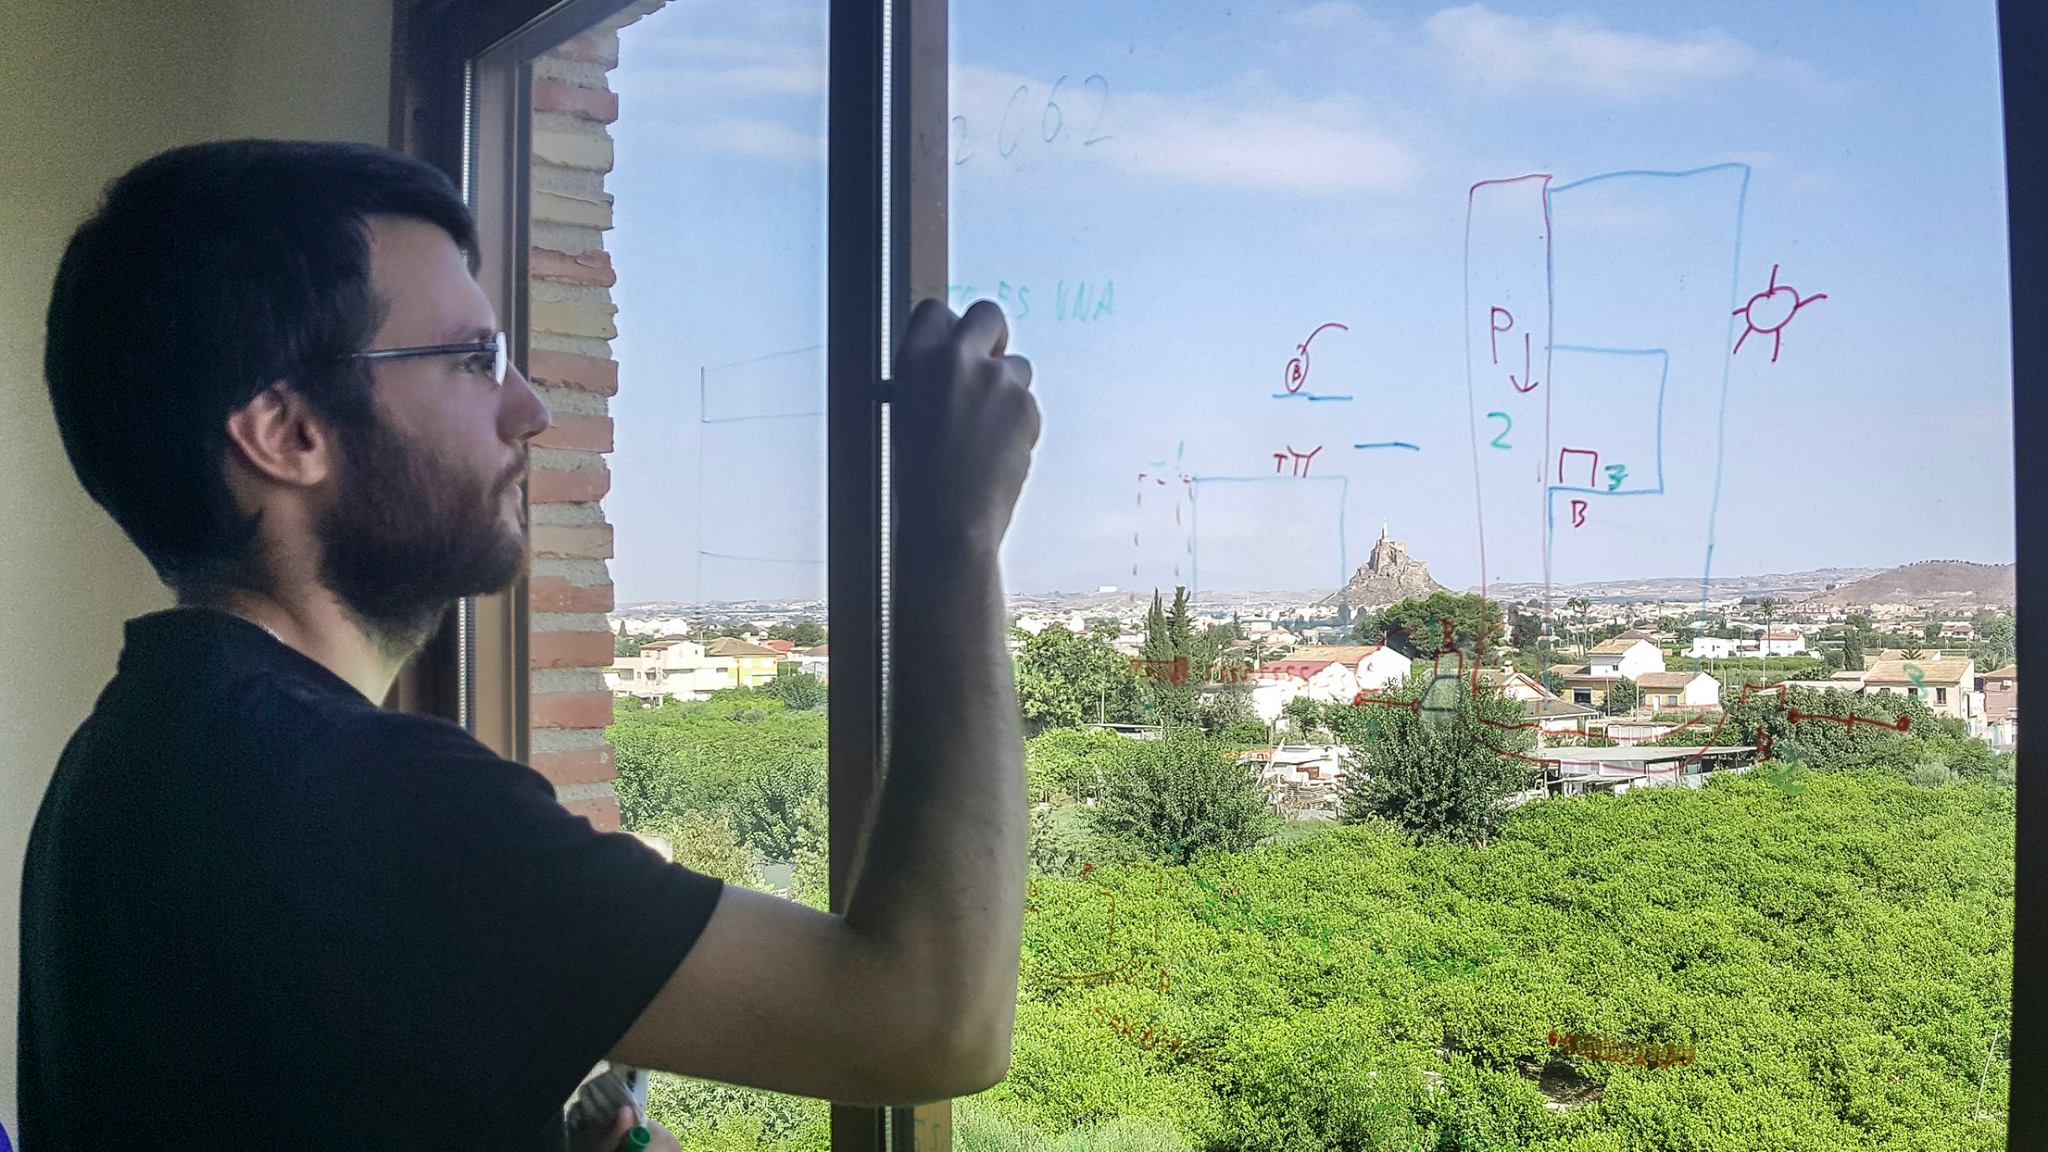
Level Design
With all the elements put on the table, we’ll choose a surface to draw a concept of the level (normally we use a sheet of paper, a whiteboard or even a window). The concept of the level is normally carried out without worrying of such things as the size or scale of each element, but we take care of the structure. Then, we put the previously selected elements in the level, making a continuous interaction in which the level is adapted to the elements and the elements are adapted to the map until we reach a satisfactory result.
Game Simulation
At this stage, we simulate different games or matches and try to foresee what players will and won’t do. We’ll simulate even absurd situations where players can make a mistake or do something unexpected to carry out all the necessary changes in order to avoid users have to restart the level because they have reached a situation in which it’s impossible to complete.
Distances and Scales
80% of the design of the level has been finished approximately, so it’s time to redraw it on graph paper to calculate distances and the scale of each element. This copy of the level will be the one that we’ll store in the level documentation in order to check it once we start ‘assembling’ the stage in Unity.
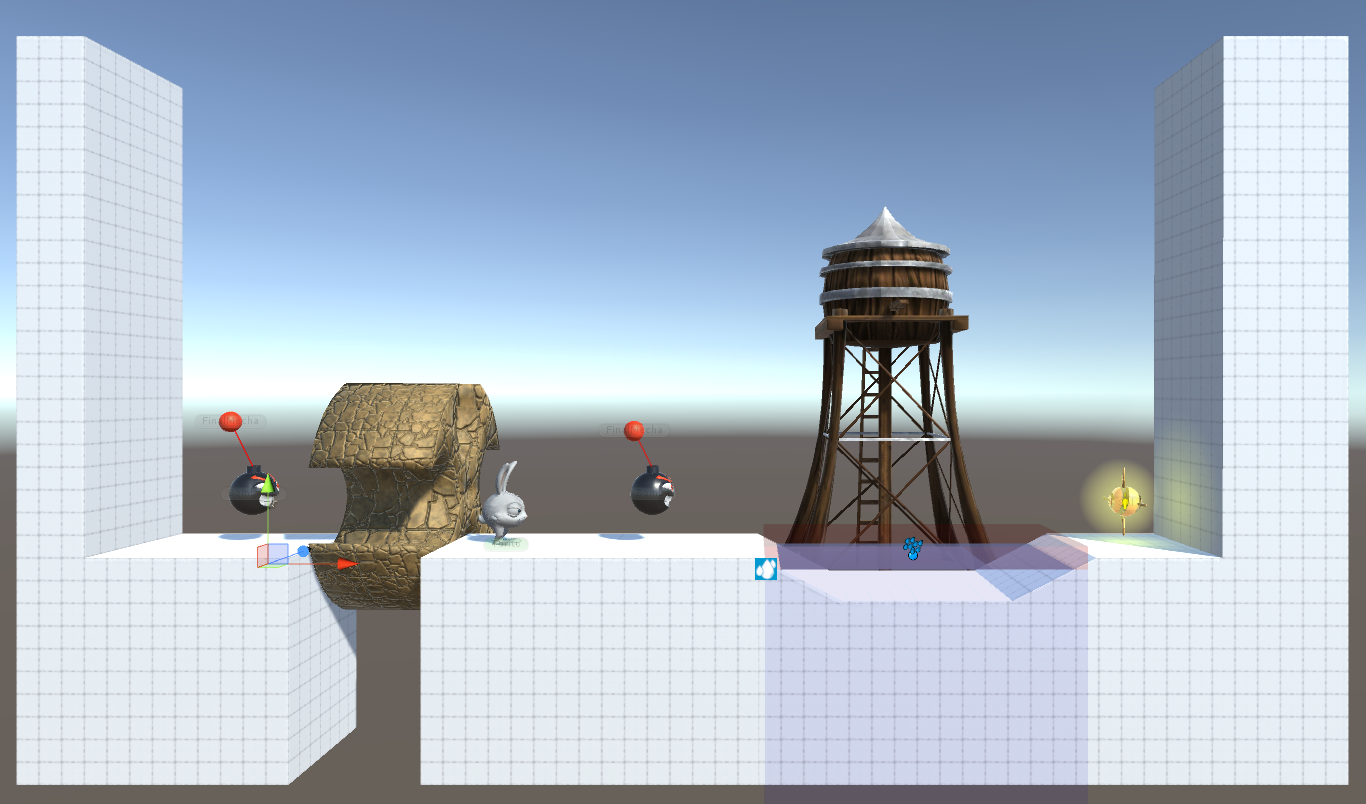
Unity
After completing these steps, we’ll export the level to the graphic engine, Unity. In our case, we carry out the playable prototype of the most recent levels with ProBuilder because pf its working speed and the possibility of exporting them as OBJ files so artists can work on them to make them look beautiful At this stage, we add the interactive elements and the testing phase begins.
Testing
The level is played in single and multiplayer modes, paying attention to possible bugs and to the possibility of reaching a point in which the level must be restarted so it can be completed, something we always try to avoid.
Final Review
The level will be reviewed by the Lead Level Designer, who’ll contribute their ideas and suggestions. If he/she doesn’t accept that version of the level, level designers must continue working on the level on the lead’s suggestions and try to get it approved. Once this happens, a final testing phase takes place with other members of the studio to have a look at possible design faults thanks to behaviors we hadn’t thought of and, if any, correct the level on this feedback. After finishing this ‘public’ testing phase, artists will start working to obtain the final finish.
As you can see, making a level is a long process where many elements must be taken into account so it’s fully playable and enjoyable.
Next week, we’ll show you an original and crazy way of designing levels which will amaze you for sure!

xn88 gaming cam kết xử lý khiếu nại trong 2 giờ – minh bạch, nhanh chóng, tôn trọng khách hàng. TONY03-20